Vanessa Ferdinand - December 10, 2019
How to make a web page
Overview
In this tutorial, we are going to make 3 webpages and run them locally on your machine.
Each webpage will have its own file structure, with the root directory at the top of that structure.
So for the sake of being organized, let's set those up first.
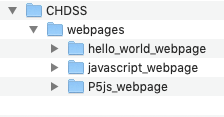
- Earlier, we all created a folder on our Desktop called CHDSS
- Make a new folder in CHDSS called webpages
- Then make the 3 root directories in that and give them these names:
Alright, let's get started!
Webpage 1: hello_world_webpage
Open your favorite text editor, like Sublime Text.
Create a new file called index.html and paste this code in there.
<!DOCTYPE html>
<html>
    <head>
        <title>My webpage</title>
    </head>
    <body></body>
</html>
Now type something into the body. For example:
<body>Hello world!</body>Save index.html in the root directory hello_world_webpage.
View your webpage
Now open index.html with a web browser. Think to yourself: I just made a freakin webpage!
The coding language above is called HTML - it's is the main language of webpage design. Learn how to code in HTML.
Add an image to your webpage
To display an image on a webpage, we need to specify a path to an image file in your html.
If the file is located online, the url is the path to that file.
Add this code to index.html and then take a look at it in your browser.
<!DOCTYPE html>
<html>
    <head>
        <title>My webpage</title>
    </head>
    <body>
        Hello world! <br>
        <img src="http://vanessaferdinand.com/assets/world.png" width=500>
    </body>
</html>
We can also create our own file system.
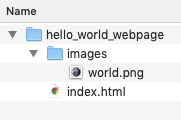
- Create a folder called images in hello_world_webpage.
- Take a sweet selfie of yourself working on this tutorial. Name the file and put it in images. (Boring alternative: download world.png and put it in there.)
Here's what your file structure should look like now:
Now edit index.html to include the new path to your file:
<!DOCTYPE html>
<html>
    <head>
        <title>My webpage</title>
    </head>
    <body>
        Hello world! <br>
        <img src="./images/world.png" width=500>
    </body>
</html>
If you used your own image file, make sure its name and file extension appears correctly in the path.
The type of path we're using here is a "relative path". Relative to what? To where your index.html file is!
./ means the current directory
../ means go up one level from the current directory
.........../ means go up ten levels from the current directory (but don't make file systems like that)
Always keep your index.html file in the root directory.
Learn more about HTML file paths.
Webpage 2: javascript_webpage
Now we're going to make a webpage that has some Javascript code in it.
Javascript is a scripting language that allows us to create interactive webpages. This interactivity is useful for programming online experiments, where participants will interact with the experiment in complex ways.
Learn how to code in Javascript.
Add javascript code to index.html
- Close the folder hello_world_webpage and open the folder javascript_webpage.
- Create a new file called index.html and paste in the code below.
(Don't accidentally edit the other index.html we made - index.html is the default filename that servers expect a homepage to have, so that's why we're using the same filename again.)
<!DOCTYPE html>
<html>
    <head>
        <title>My webpage</title>
    </head>
    <body></body>
    <script>
        var name = prompt("What is your name?");
        alert("Hello " + name + "!");
    </script>
</html>
- Save index.html in javascript_webpage.
- View the webpage! (i.e. open index.html with your web browser)
This code contains a new section <script></script>. This section contains two lines of Javascript code.
What does this Javascript code do?
It displays a prompt box to the user and whatever the user types into the prompt box is saved into a variable called name.
Then, it creates an alert box that displays the string "Hello " + name + "!", which uses the content stored in the variable name.
Now move your javascript code to its own file
A typical online experiment will contain a crapload of Javascript code. In that case, it's a good idea to keep your javascript code in its own file. We can tell index.html to look for the javascript file the same way we told it to look for the image file.
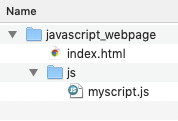
- Create a file called myscript.js and fill it with this content:
var name = prompt("What is your name?");
alert("Hello " + name + "!");
- Create this file structure, with myscripts.js in a folder called js.
- Edit index.html so it loads the file myscript.js, like this:
<!DOCTYPE html>
<html>
    <head>
        <title>My webpage</title>
        <script src="./js/myscript.js"></script>
    </head>
    <body></body>
</html>
- View the webpage!
Using Javascript libraries
Ok, so you could write all of your javascript code yourself, but you can also use code that other people already wrote: known as "libraries" and "plugins".
Two great javascript libraries for programming experiments are:
P5js
awesome for interactive animations and visual design - perfect for making gamified experiments
check out: how to get started with P5js, their example sketches, and Daniel Schiffman's EXCELLENT youtube channel of P5js tutorials!
jsPsych
has all the code you need for implementing standard psychology experiments
Webpage 3: P5js_webpage
Now let's make a webpage that uses the P5 javascript library.
- Go to www.p5js.org/download/ and download the file called p5.js
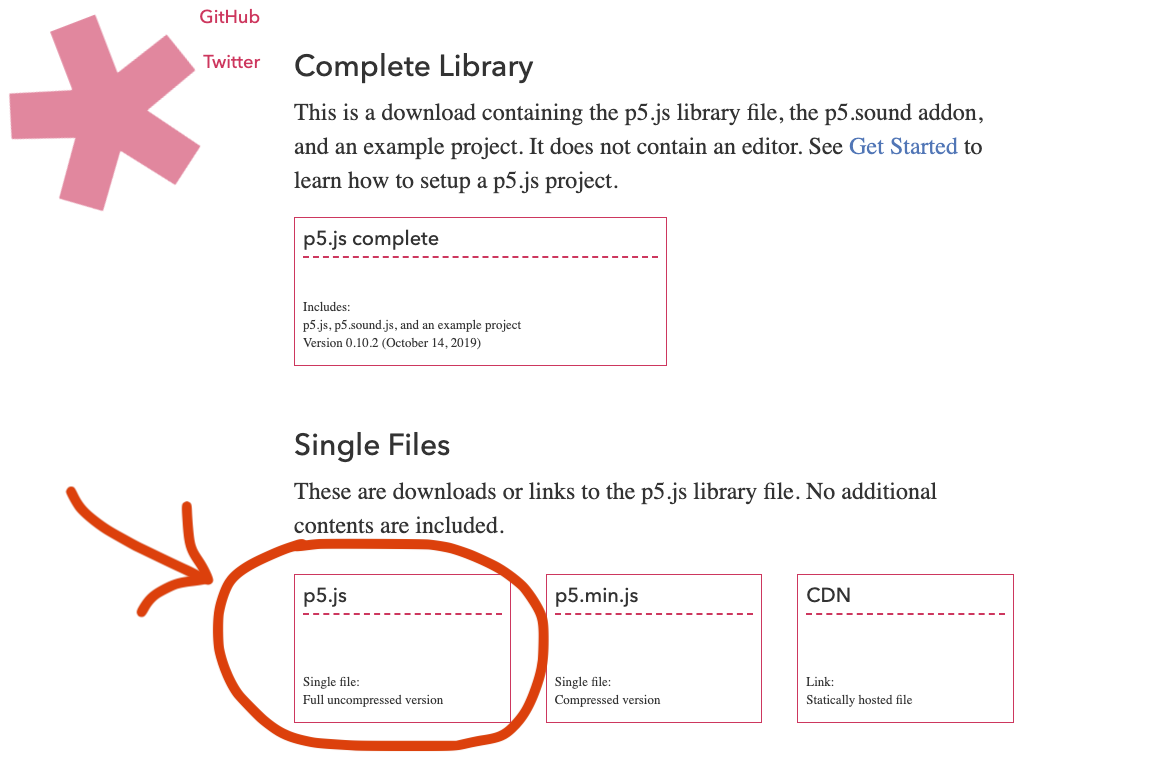
- Put p5.js into a file structure that looks like this:
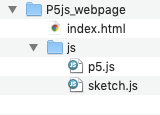
- In your text editor, create a file called sketch.js - this is where you can put your own javascript code and use p5.js functions like
draw( ).
var col = "grey";

function setup() {
  createCanvas(640, 480);
}

function draw() {
  if (mouseIsPressed) {
    fill(col);
  } else {
    fill("white");
  }
  ellipse(mouseX, mouseY, 80, 80);
}
- Edit index.html so it contains paths to files p5.js and sketch.js
<!DOCTYPE html>
<html>
  <head>
    <title>sweet p5.js example</title>
    <script src="./js/p5.js"></script>
    <script src="./js/sketch.js"></script>
  </head>
  <body></body>
</html>
- Open index.html in a web browser and play with what you made!
Example webpage using the jsPsych library
Let's not do this in class - but here's how to make a web page using the jsPsych library, if you want to try that later.
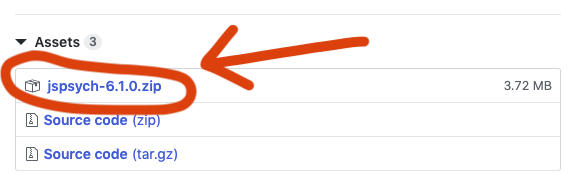
- Go to https://github.com/jspsych/jsPsych/releases and download the latest version of jsPsych.
6.1.0 was the current version when I made this tutorial - the number may be higher now.
- Unzip the file you downloaded and drag jspsych-6.1.0 into a file structure that looks like this:
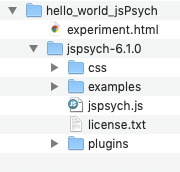
The main file you need is jspsych.js, but there are lots of extras and its good to have them all in the filesystem for whatever experiment you're making.
- Create the homepage, experiment.html, and include paths to the jsPsych files you want to use:
<!DOCTYPE html>
<html>
    <head>
        <title>My webpage</title>
        <script src="jspsych-6.0.5/jspsych.js"></script>
    </head>
    <body></body>
</html>
Now you're all set to use the jsPsych library and plugins for your own webpage!
jsPsych has two really good tutorials on their website, so I'll let them take you onward from here:
jsPsych's hello world experiment
jsPsych's Simple Reaction Time Task
Learning by hacking
For all the well-intentioned, haptic learners out there...
Development Tools
Most web browsers (Chrome, Firefox, Safari, etc) have something called a Development Console that lets you view and interact with any webpage's HTML, CSS, Javascript, and filesystem. The console is useful for testing and developing your webpage. It's also useful for seeing how other web pages are built - if you see a webpage you like, open the console and check out what's going on in there.
Read more here: What are browser developer tools?
My examples below use Chrome.
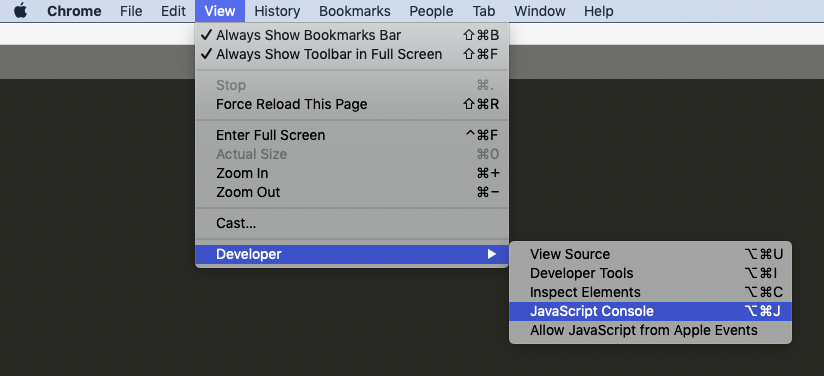
- Open index.html in P5js_webpage with Chrome.
- In Chrome's toolbar, go to View > Developer > JavaScript Console.
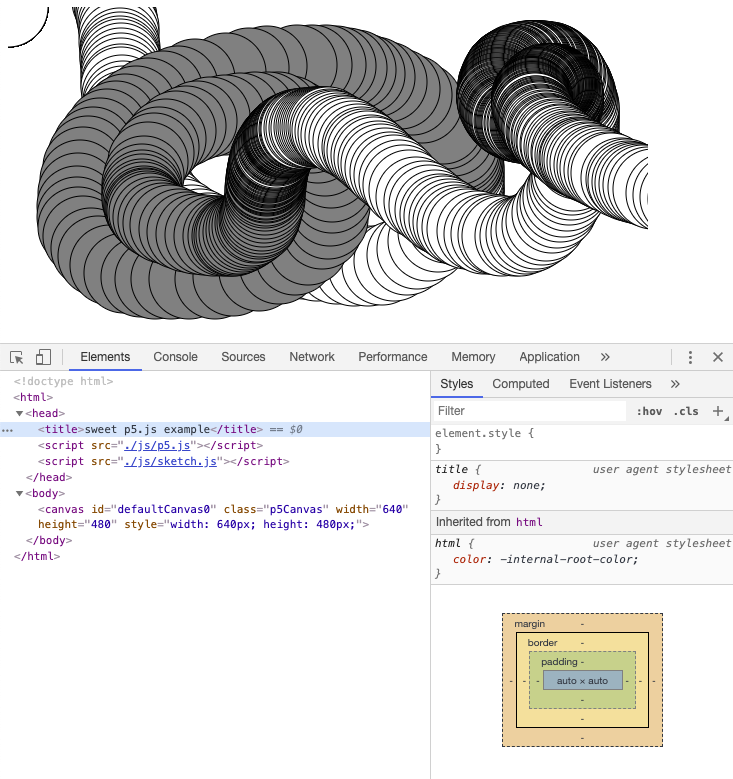
The Elements tab shows the page's HTML:
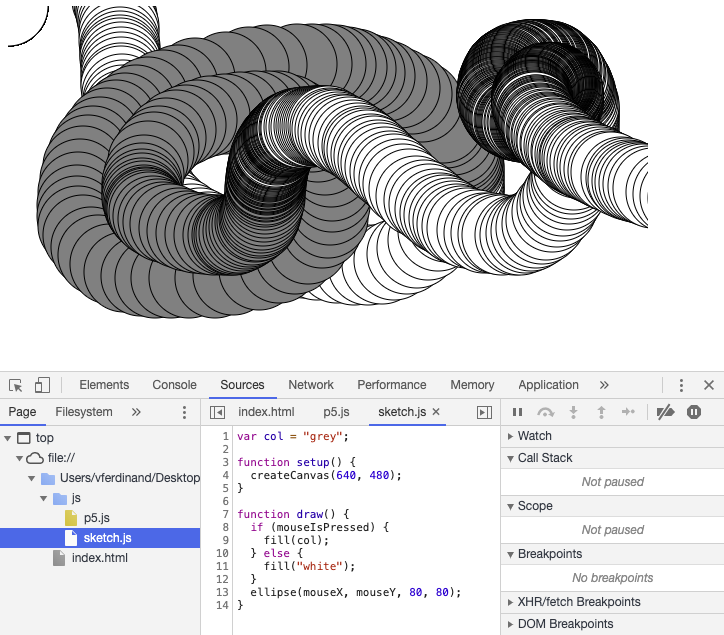
The Sources tab shows the filesystem and allows you to view the contents of the files.
Here we're looking at the sketch.js file:
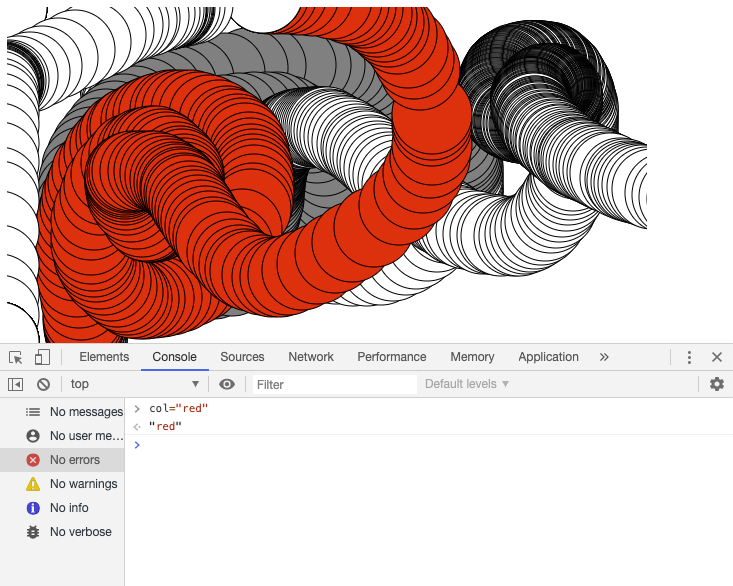
The Console tab contains a command line where you can directly interact with the javascript that is running on the webpage!
Type in a variable name, press enter, and you'll see its current value.
Example: Assign a new value to the variable "col" in the p5js example and play around.
When you do this, you're only changing the code that your browser downloaded to your machine from the server.
If you reload the webpage (i.e. download the website files from the server again), all your changes will be gone.
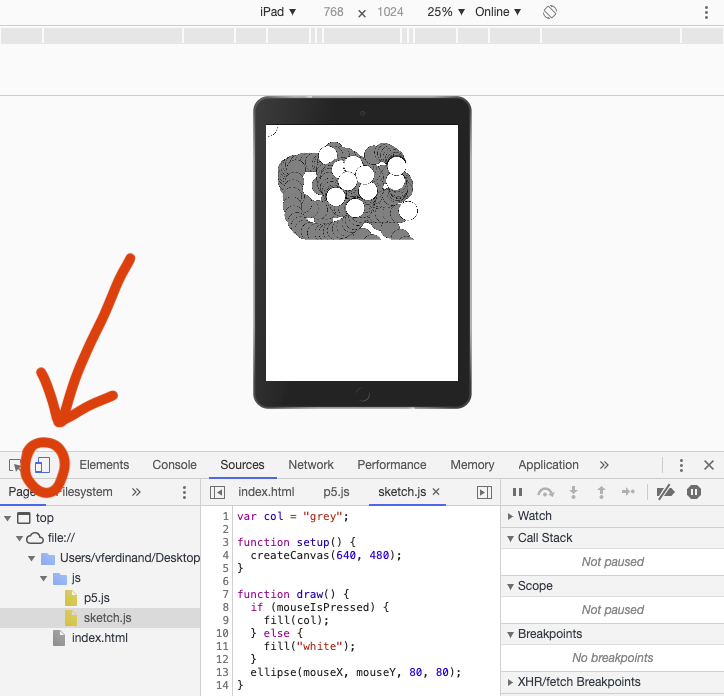
There are also tools for testing your webpage on different devices. Click this button:
A note on security
The vast majority of online experiments out there are written in Javascript. This means that your participants (or a hacker) can view all of your experiment code, mess around with it, and you'd be none the wiser.
For example, if you're running an online experiment where participants get a "completion code" at the end of the experiment to prove they did it, they could open the Javascript Console, look for a variable that contains the completion code, and give you that code without ever doing the experiment.
This is something to be aware of, because you can design your code to be less hackable. An alternative is to transfer most of the heavy lifting to your experiment's backend, which is located on a server. Unfortunately, this violates an old-skool principle of web design, which is to load the client side with as much of the computing work as possible, to prevent your server from being overloaded with requests. Fortunately, we can now host our experiments on modern day cloud computing servers like Google App Engine, which are built to dynamically scale their computing resources to the needs of your incoming requests.
However, basically no one hacks online experiments right now. So you're good to go with the heavy javascript frontend. For now...
Recap
What we did in this tutorial was make three web pages that run locally on your own computer.
These web pages exist in a filesystem you made that contains code you wrote in HTML and Javascript.
When you open index.html with your web browser, it displays the web page you made.
The reason your web page is running locally is because the filesystem is stored on your computer.
If you give someone else this filesystem (like with a USB drive), they'll be able to display your webpage locally from their own computer, using their browser.
But what a tedious way to share your webpage...
The next step is putting this web page onto a server out there in internetland, so other people can request the code via a URL ...instead of asking you for it.